After adding WooCommerce compatibility to this website’s theme, I figured why stop at just this theme. The M.X. already had some styling just for WooCommerce blocks.
I decided to finish the styling for the default WooCommerce setup that is generated by shortcodes. I also added some other special features. Now, users can add a separate right or left sidebar for their store. In addition, users can add a shopping cart widget to the header that displays the number of items in the cart.
Some screenshots are in order.
Shop Page
Clik here to view.
Clik here to view.
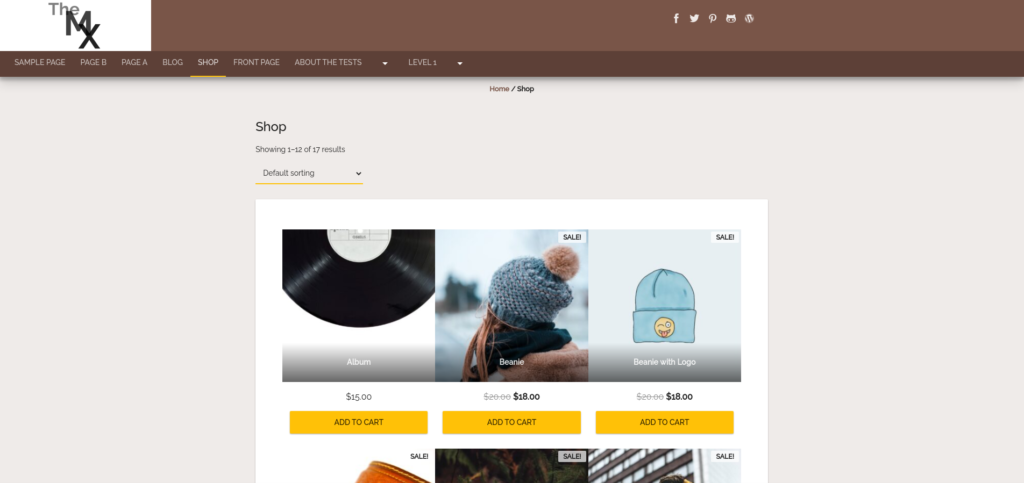
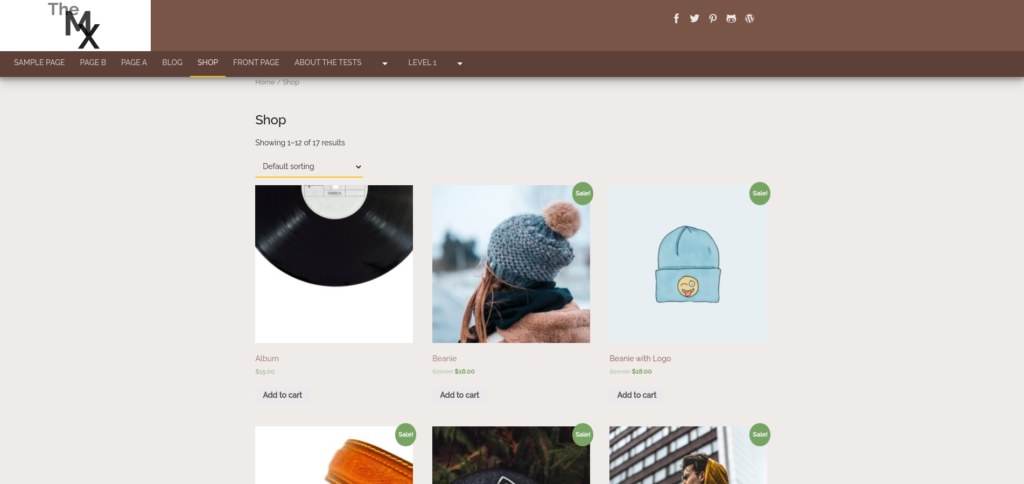
The Shop page products columns use the same design as their block counterparts, incorporating similar styles to that of this theme’s featured images.
I had to use Chromium’s Developer Tools to approximate the margins, as I created the “before” images after the transformation was complete.
Product Page
Clik here to view.
Clik here to view.
Cart Page
Clik here to view.
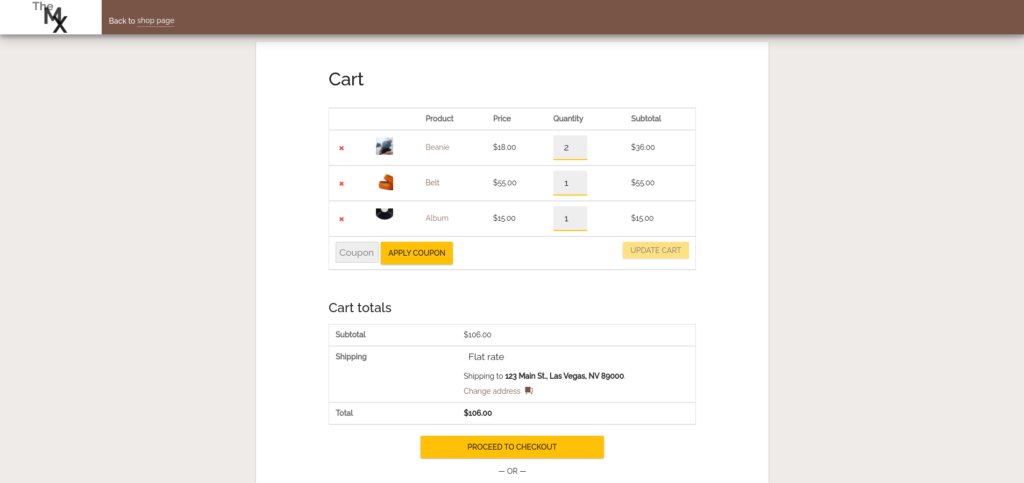
The Cart, Checkout and My Account pages use a simplified header, which has a non-linked logo for branding, and a link back to the Shop page.
Sidebar
Clik here to view.
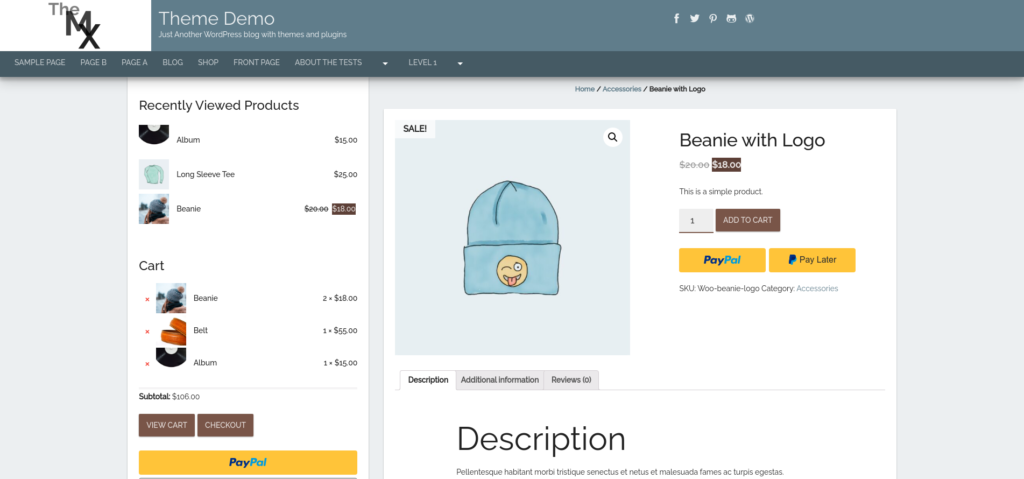
When WooCommerce is activated, some new controls are added to the Customizer. In the Layout section, you have the option of enabling a separate sidebar from the blog. Options are for right and left sides, and to have the sidebar show up only on the Single Product page.
Cart Icon
Clik here to view.
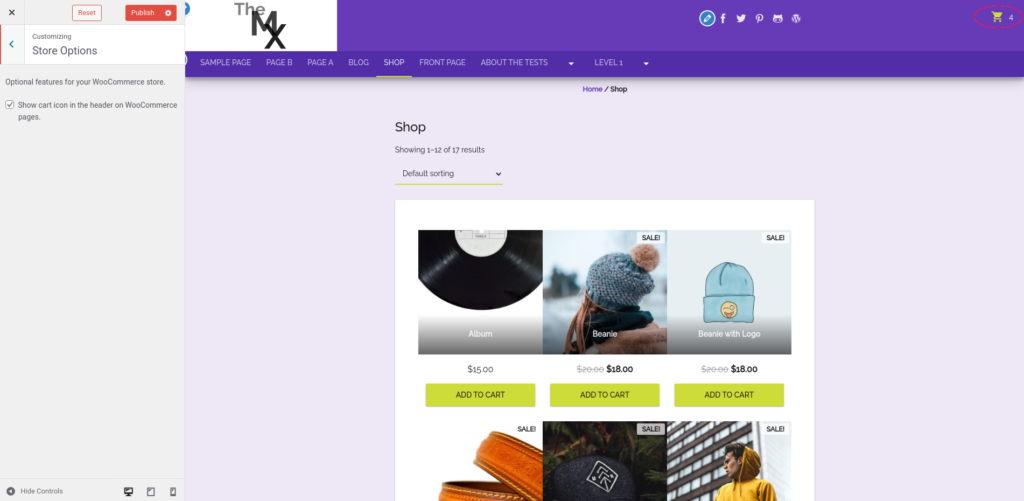
Finally, the Customizer adds a Store Options section, where you can include a persistent cart icon that displays the number of items in shopper’s carts. For obvious reasons, this will not show on the Cart or Checkout pages.
In order to get these WooCommerce styles, you will need the latest version of The M.X., which as of this writing is 1.3.20.
The post WooCommerce Styling for The M.X. appeared first on Jason G. Designs.